开源、跨平台、企业级
快速创建在Windows,Linux、Mac或者
Docker上运行的网站及微信公众号
一个基于 JavaScript 的开源可视化图表库
Many people have problems with handling non-ASCII characters in their programs, or even getting their IRC client or text editor to display them correctly.
To efficiently work with text data, your environment has to be set up properly – it is so much easier to debug a problem which has encoding issues if you can trust your terminal to correctly display correct UTF-8.
I will show you how to set up such a clean environment on Debian Lenny, but most things work independently of the distribution, and parts of it even work on other Unix-flavored operating systems like MacOS X.
In the end the used character encoding doesn’t matter much, as long as it’s a Unicode encoding, i.e. one which can be used to encode all Unicode characters.
UTF-8 is usually a good choice because it efficiently encodes ASCII data too, and the character data I typically deal with still has a high percentage of ASCII chars. It is also used in many places, and thus one can often avoid conversions.
Whatever you do, chose one encoding and stick to it, for your whole system. On Linux that means text files, file names, locales and all text based applications (mutt, slrn, vim, irssi, …).
For the rest of this article I assume UTF-8, but it should work very similarly for other character encodings.
Check that you have the locales package installed. On Debian you can do that with.
$ dpkg -l locales
Desired=Unknown/Install/Remove/Purge/Hold
| Status=Not/Inst/Cfg-files/Unpacked/Failed-cfg/Half-inst/trig-aWait/Trig-pend
|/ Err?=(none)/Hold/Reinst-required/X=both-problems (Status,Err: uppercase=bad)
||/ Name           Version        Description
+++-==============-==============-============================================
ii  locales        2.7-18         GNU C Library: National Language (locale) da
The last line is the important one: if it starts with ii, the package is installed, and everything is fine. If not, install it. As root, type
$ aptitude install locales
If you get a dialog asking for details, read on to the next section.
make sure that on your system an UTF-8 locale is generated. As root, type
$ dpkg-reconfigure locales
You’ll see a long list of locales, and you can navigate that list with the up/down arrow keys. Pressing the space bar toggles the locale under the cursor. Make sure to select at least one UTF-8 locale, for example en_US-UTF-8 is usually supported very well. (The first part of the locale name stands for the language, the second for the country or dialect, and the third for the character encoding).
In the next step you have the option to make one of the previously selected locales the default. Picking a default UTF-8 locale as default is usually a good idea, though it might change how some programs work, and thus shouldn’t be done servers hosting sensitive applications.
If you chose a default locale in the previous step, log out completely and then log in again. In any case you can configure your per-user environment with environment variables.
The following variables can affect programs: LANG, LANGUAGE, LC_CTYPE, LC_NUMERIC, LC_TIME, LC_COLLATE, LC_MONETARY, LC_MESSAGES, LC_PAPER, LC_NAME, LC_ADDRESS, LC_TELEPHONE, LC_MEASUREMENT, LC_IDENTIFICATION.
Most of the time it works to set all of these to the same value. Instead of setting all LC_ variables separately, you can set the LC_ALL. If you use bash as your shell, you can put these lines in your ~/.bashrc and ~/.profile files:
export LC_ALL=en_US.UTF-8
export LANG=en_US.UTF-8
export LANGUAGE=en_US.UTF-8
To make these changes active in the current shell, source the .bashrc:
$ source ~/.bashrc
All newly started interactive bash processes will respect these settings.
You must restart long-running programs for these changes to take effect.
There are certain processes that don’t get those environment variables, typically because they are started by some sort of daemon in the background.
Those include processes started from cron, at, init scripts, or indirectly spawned from init scripts, like through a web server.
You might need to take additional steps to ensure that those programs get the proper environment variables.
Run the locale program. The output should be similar to this:
LANG=en_US.UTF-8
LANGUAGE=en_US.UTF-8
LC_CTYPE="en_US.UTF-8"
LC_NUMERIC="en_US.UTF-8"
LC_TIME="en_US.UTF-8"
LC_COLLATE="en_US.UTF-8"
LC_MONETARY="en_US.UTF-8"
LC_MESSAGES="en_US.UTF-8"
LC_PAPER="en_US.UTF-8"
LC_NAME="en_US.UTF-8"
LC_ADDRESS="en_US.UTF-8"
LC_TELEPHONE="en_US.UTF-8"
LC_MEASUREMENT="en_US.UTF-8"
LC_IDENTIFICATION="en_US.UTF-8"
LC_ALL=en_US.UTF-8
If not you’ve made a mistake in one of the previous steps, and need to recheck what you did.
Setting up the terminal emulator for your terminal emulator strongly depends on what you actually use. If you use xterm, you can start it as xterm -en utf-8, konsole and the Gnome Terminal can be configured in their respective configuration menus.
To test if you terminal emulator works, copy and paste this line in your shell:
perl -Mcharnames=:full -CS -wle 'print "\N{EURO SIGN}"'
This should print a Euro sign € on the console. If it prints a single question mark instead, your fonts might not contain it. Try installing additional fonts. If multiple different (nonsensical) characters are shown, the wrong character encoding is configured. Keep trying :-).
If you use SSH to log in into another machine, repeat the previous steps, making sure that the locale is set correctly, and that you can view a non-ASCII character like the Euro sign.
The screen program can work with UTF-8 if you tell it to.
The easiest (and sometimes the only) way is to start it with the -U option:
$ screen -U
and also when detaching (screen -Urd or so).
Inside a running screen you can try Ctrl+a :utf8 on<return>. If that doesn’t work, exit your screen and start a new one with -U
There’s a complete guide for setting up irssi to use UTF-8, which partially overlaps with this one. The gist is:
/set term_charset utf-8
/set recode_autodetect_utf8 ON
/set recode_fallback ISO-8859-15
/set recode ON
转自https://perlgeek.de/en/article/set-up-a-clean-utf8-environment
CentOS: tail -f /var/log/cron
Ubuntu: tail -f /var/log/cron.log
注:Ubuntu 默认没有开启cron log.
在/etc/rsyslog.d/50-default.conf文件中取消#cron.* /var/log/cron.log注释符号#, 并重启rsyslog
sudo service rsyslog restart
众所周知,Linux 下可以使用 ln -s 来创建软链接。Windows 的 cmd 提供了一个类似功能的命令:mklink。这个命令的官方说明如下:
MKLINK [[/D] | [/H] | [/J]] Link Target
    /D      创建目录符号链接。默认为文件
            符号链接。
    /H      创建硬链接而非符号链接。
    /J      创建目录联接。
    Link    指定新的符号链接名称。
    Target  指定新链接引用的路径
            (相对或绝对)。
官方已经说得很清楚了,要建立文件的软链接,不需要附加参数,而如果要创建目录的软链接,就需要加入 /D 或者 /J 的参数。这里就涉及到一个问题:目录符号链接(/D)和目录联接(/J)有什么区别呢?
我查阅了一些资料,总结出以下区别:
目录符号链接可以用于远程主机访问,但是目录联结只能处理本地的访问。
目录符号链接可以在资源管理器里面复制、剪切,但是目录联结不行,如果你试图复制或移动目录联接,会把真实的文件夹内容复制或移动过去。(从这点上说,目录符号链接更接近于 Linux 的软链接。)
创建目录符号链接必须要有管理员权限,而目录联结不用。
除此之外,就没有太大的区别了,它们都支持跨盘符、相对路径等功能。我更推荐使用目录符号链接。
————————————————
版权声明:本文为CSDN博主「anguuan」的原创文章,遵循CC 4.0 BY-SA版权协议,转载请附上原文出处链接及本声明。
原文链接:https://blog.csdn.net/anguuan/article/details/105013882

点选左边菜单->网络->FTP->新建
sudo docker pull bytemark/webdav
docker run --restart always -v /home/data/webdav:/var/lib/dav -e AUTH_TYPE=Digest -e USERNAME=XXXX -e PASSWORD=XXXX --publish 8000:80 -d bytemark/webdav
sudo apt-get install davfs2
sudo mount -t davfs http://webdav.cn:8000 /home/user/webdav/
sudo apt-get install cavader
Cavader http://webdav.cn:8000这里我以Windows 11 为例
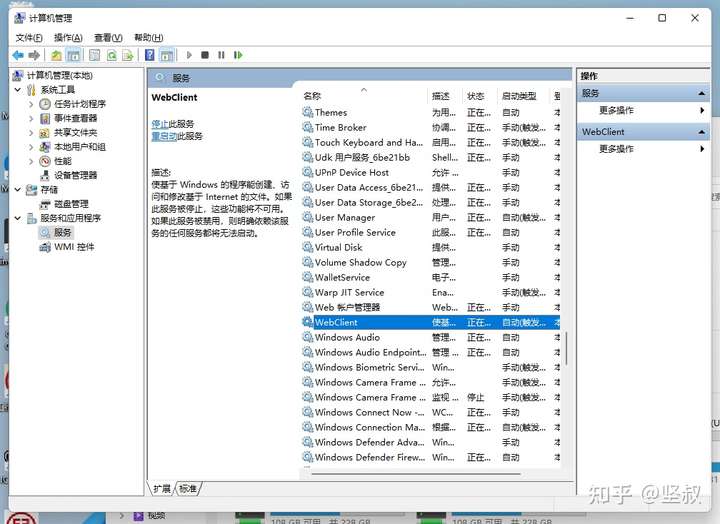
首先,开启服务
打开此电脑
在左侧树状栏找到此电脑图标
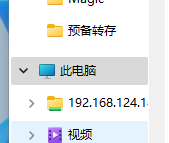
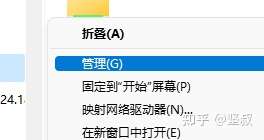
右键点击此电脑
选择管理
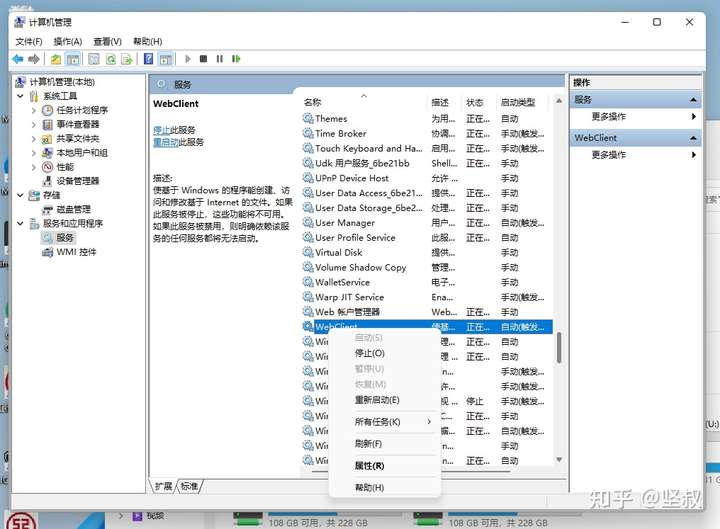
点开服务和应用程序
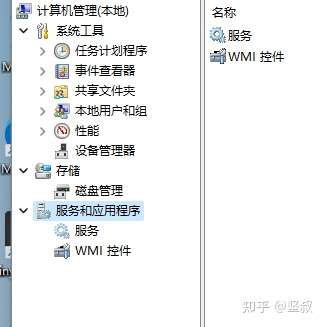
点选服务
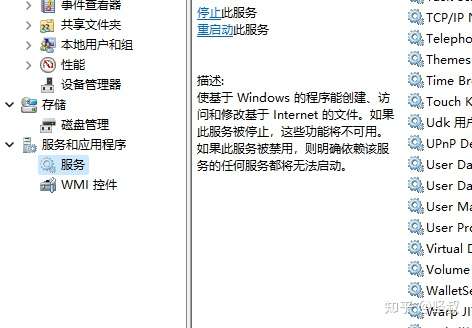
在右侧找到
WebClient
双击WebClient
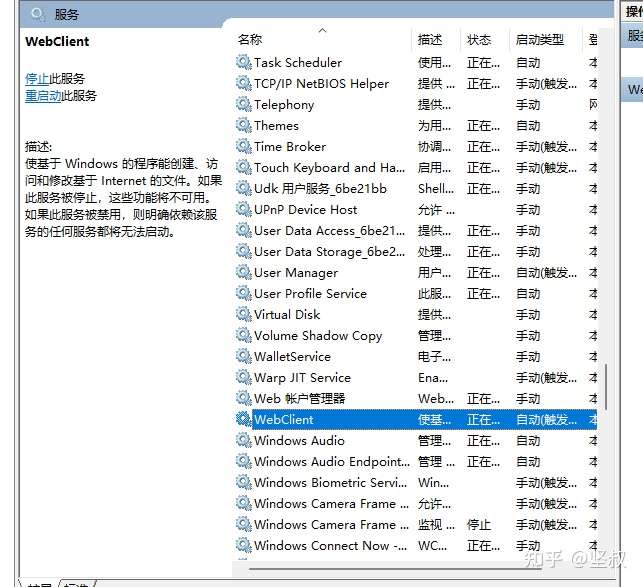
将启动类型改为自动
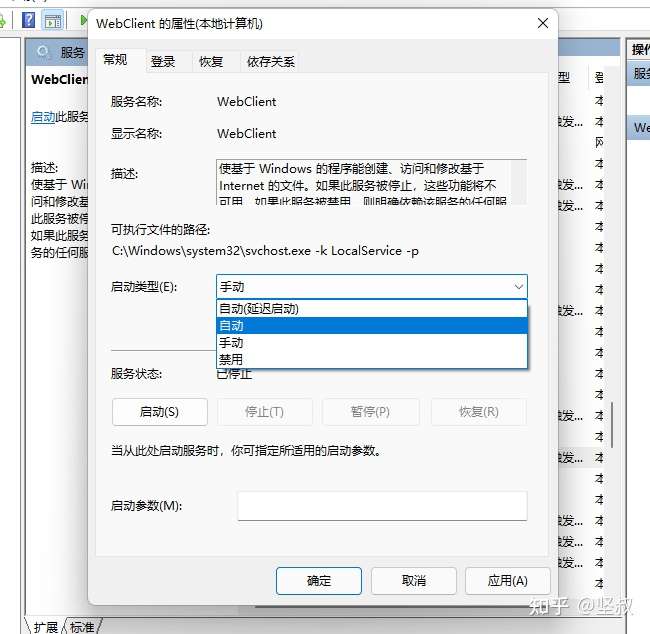
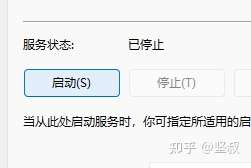
然后点选服务状态的启动按钮
看到如图所示后点确定
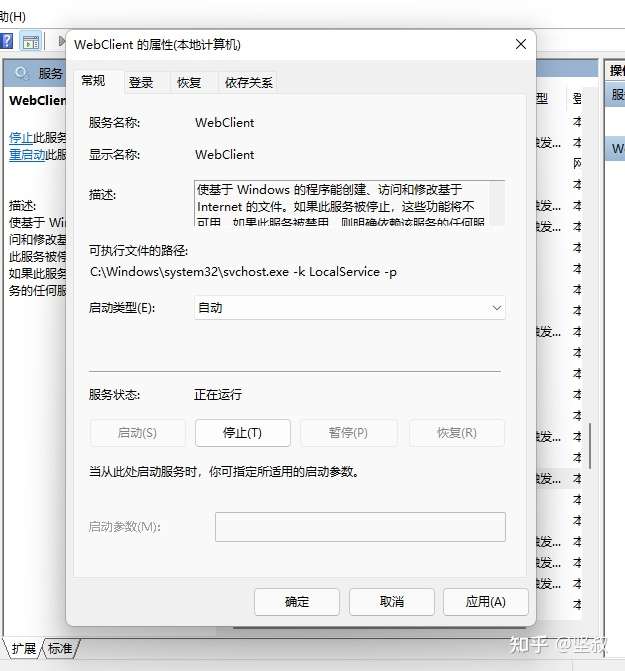
请不要关闭计算机管理窗口,并保持选中WebClient服务
然后我们按下Win键(田字键)+R键唤出运行窗口
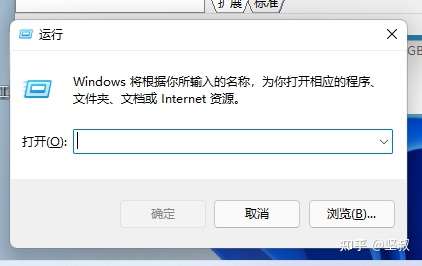
输入
regedit
点确认

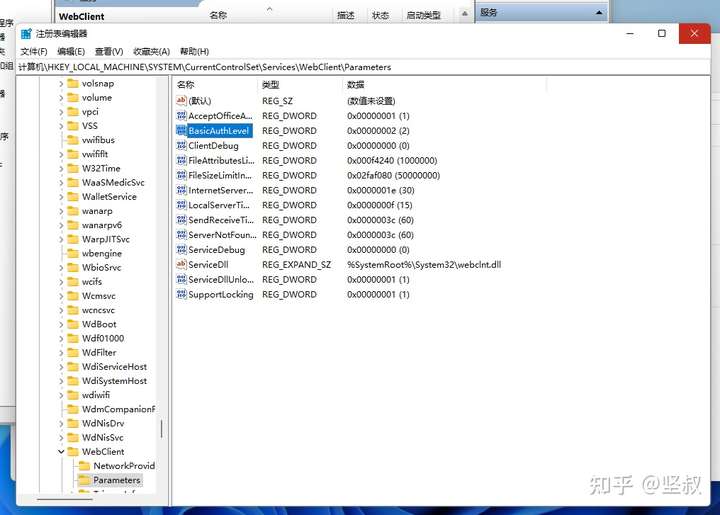
然后找到最上方的编辑栏
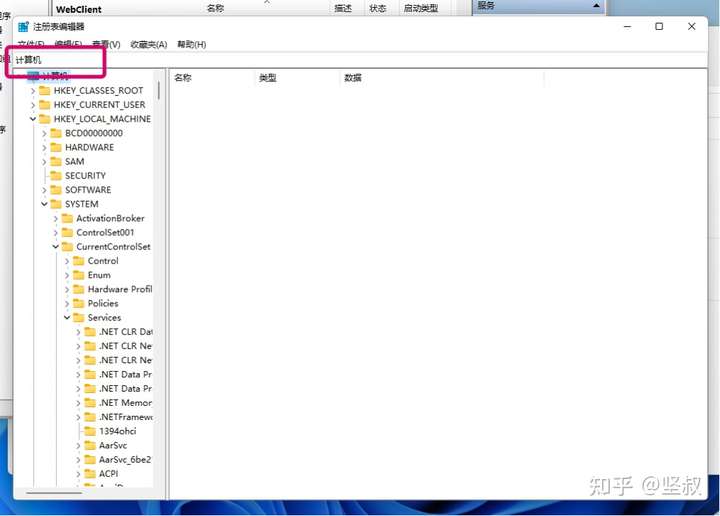
输入
计算机\HKEY_LOCAL_MACHINE\SYSTEM\CurrentControlSet\Services\WebClient\Parameters
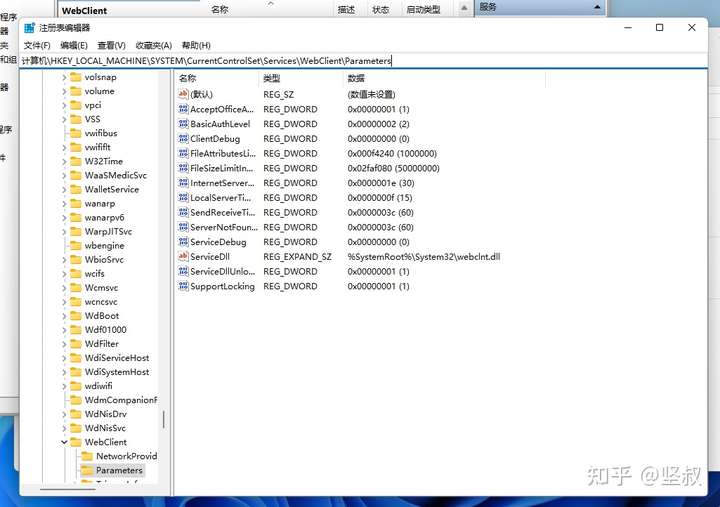
随后在右侧找到
BasicAuthLevel
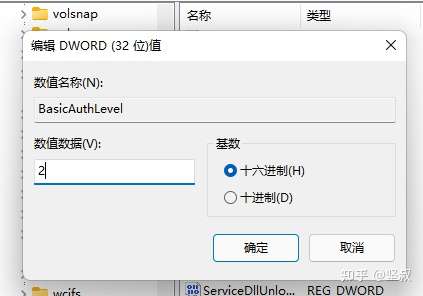
双击
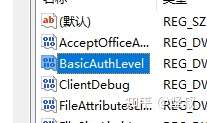
将里面的数值数据改为
2
然后点确定
关闭当前的注册表窗口
回到我们的计算机管理窗口
右键我们刚刚保持选中的WebClient服务
点重新启动
关闭计算机管理窗口后
打开此电脑
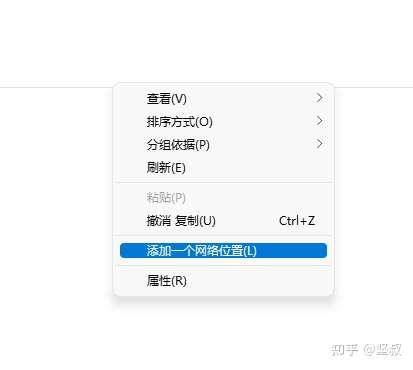
在空白处右键
选添加一个网络位置
点下一步
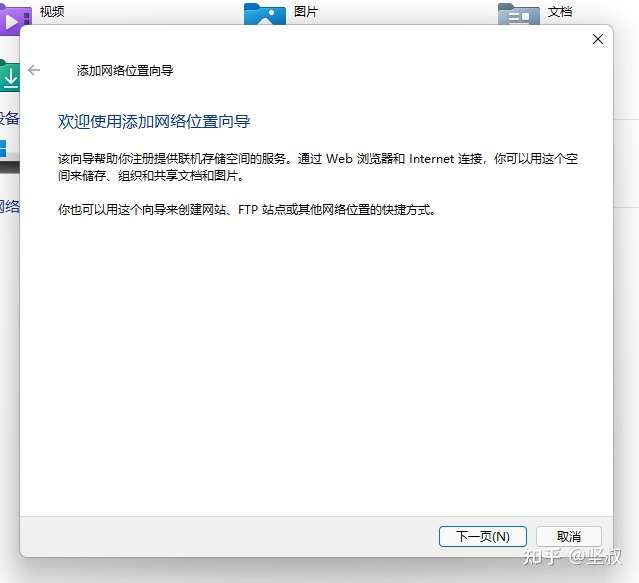
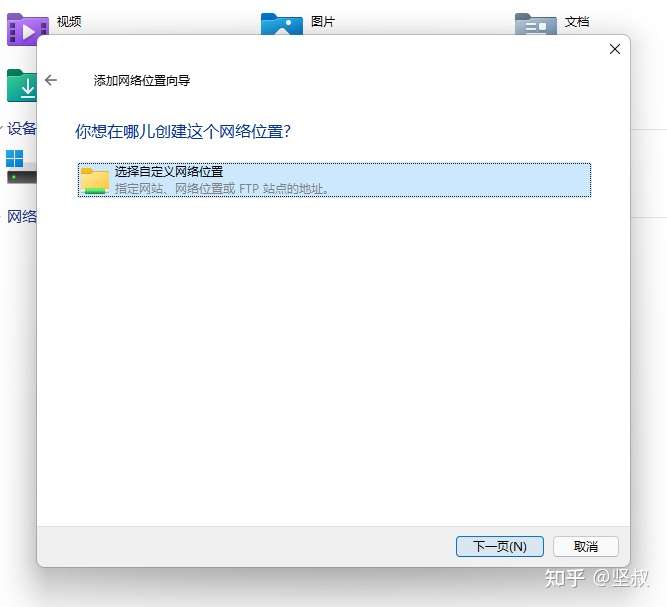
下一步
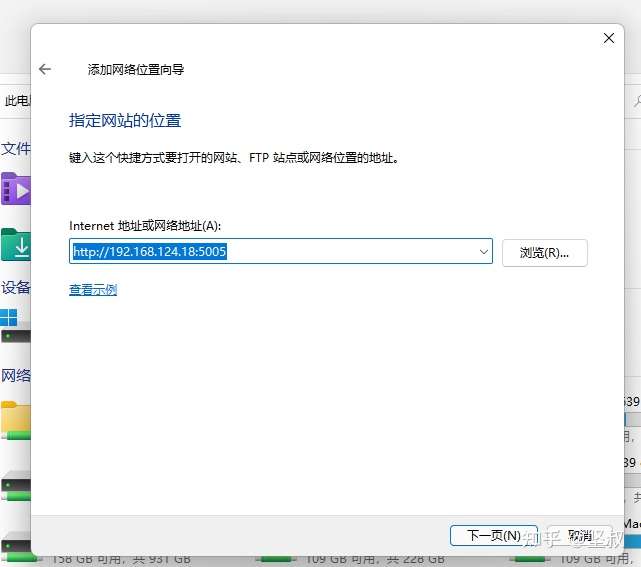
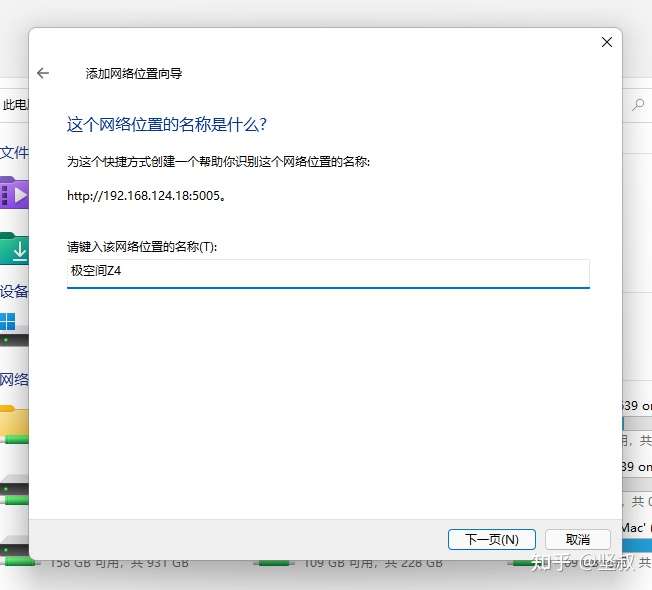
这里Internet网络地址填写刚才在极空间设置里面复制的Webdav地址
http://自己极空间的IP :5005
然后点下一步
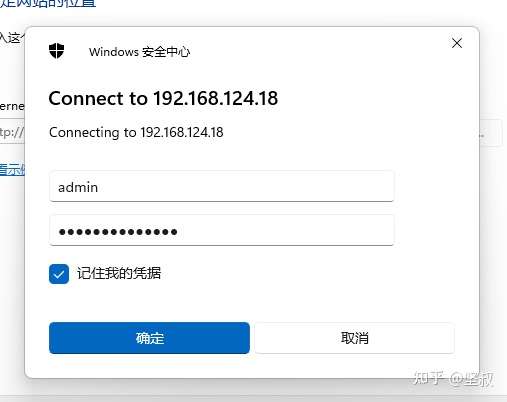
弹出的窗口用户名密码填你自己极空间的用户名密码
然后点确定
自己填写自己喜欢映射的文件夹名字
如我写极空间Z4
然后点下一步
点
完成
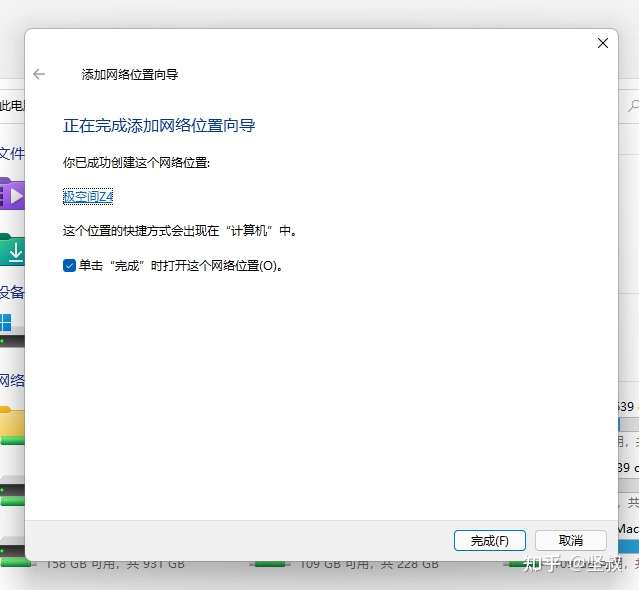
极空间私有云盘就以本地网络磁盘的形式挂载到了你的Windows上面了